![]() At home, which is also my office, I have a network that has a number of devices connected to it. Some of these devices – wifi base stations, NAS storage, a couple of raspberry pis, media centers – are headless (no monitor or keyboard attached), or in the case of the media center, spend their time running a graphical front end that makes it hard to see any system log messages that may appear.
At home, which is also my office, I have a network that has a number of devices connected to it. Some of these devices – wifi base stations, NAS storage, a couple of raspberry pis, media centers – are headless (no monitor or keyboard attached), or in the case of the media center, spend their time running a graphical front end that makes it hard to see any system log messages that may appear.
It would be handy if you could send all the relevant log entries to a server and monitor all these devices from a central server. Thankfully, on *nix at least, this is a pretty straightforward thing to do.
The Server
First, you must configure the system log on the server to accept log messages from your network. Syslog functionality can be provided by one of a number of syslog servers, on Debian 6 this server is called rsyslog.
To enable syslog messages to be received, you must modify /etc/rsyslog.conf and add/uncomment the following:
# Provides UDP syslog reception

$ModLoad imudp

$UDPServerRun 514
# Provides TCP syslog reception

$ModLoad imtcp

$InputTCPServerRun 514
Then, restart syslog:
/etc/init.d/rsyslog restart
Although this is likely to be less of an issue for a local server, you should ensure that your firewall permits connections from your local network to the syslog server (TCP and UDP ports 514).
The Clients
Your client devices must be configured to then send their logs to this central server. The concept is straightforward enough, but the exact procedure varies slightly from server to server, and device to device. If your client uses a different syslog server, I suggest you do a little googling.
The principle is pretty much the same regardless, you must specify the location of the log file server and the level of logs to send (info is sufficient for most purposes). In the syslog configuration file add the following to the bottom:
*.info @192.168.0.1
On Debian/Ubuntu/Raspian clients, this setting is in the /etc/rsyslog.d/50-default.conf file.
Some embedded devices, like my Buffalo AirStation, have an admin setting to configure this for you. Other devices, like my Netgear ReadyNAS 2, has a bit more of an involved process (in this specific case, you must install the community SSH plugin, and then edit the syslog configuration manually).
Monitoring with logwatch
Logwatch is a handy tool that will analyse logs on your server and generate administrator reports listing the various things that have happened.
Out of the box, on Debian at least, logwatch is configured to assume that only log entries for the local machine will appear in log files, which can cause the reports to get confused. Logwatch does support multiple host logging, but it needs to be enabled.
The documented approach I found, which was to create a log file in /etc/logwatch/conf didn’t work for me. On Debian, this directory didn’t exist, and the nightly cron job seemed to ignore settings in both logwatch.conf and override.conf.
I eventually configured logwatch to handle multiple hosts, and to send out one email per host, but modifying the nightly system cronjob. In /etc/cron.daily/00logwatch, modify the execute line and add a --hostformat line:
#execute

/usr/sbin/logwatch --output mail --hostformat splitmail
After which you should receive one email per host logged by the central syslog server.
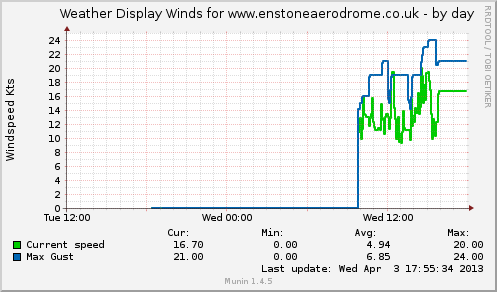
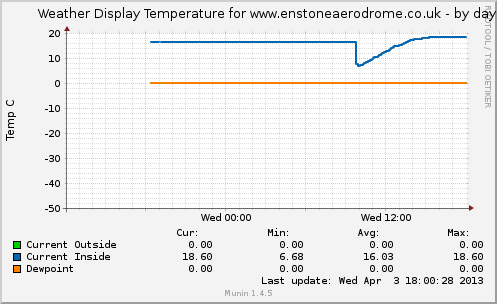
 Ok, so some of the regular readers of this blog will sense a bit of a theme with my recent posts, and get the feeling that I’m essentially trying to graph the world.